A Weight Lifting Beginners Guide to Using a Squat Rack
Follow this detailed guide on how to use a squat rack, its benefits, and the exercises that you can try so you can take your strength training sessions to the next level!

When it comes to compound exercises that can give you a good and sweaty workout with just a simple movement, the squat is the king!
It’s a staple exercise for a reason: it’s effective, easy to do, and master, and it doesn’t require any equipment - at first. But if you want to take your squats to the next level and add a loaded barbell to your squat routine, then a squat rack is what you need to make this happen. This essential piece of equipment will improve your squat workouts by supporting the bar while you’re not lifting, allowing you to load it with ease and pick it up without struggling, minimizing any possible risks during your routine.
In this guide, we’ll show you all the details that you need to know about a squat rack and how to use it properly that way you can hit your next strength training session with confidence.
What is a squat rack?
Among all the machines and pieces of equipment that you can find at the gym, the squat rack is one of the simplest yet most effective ones that you can try!
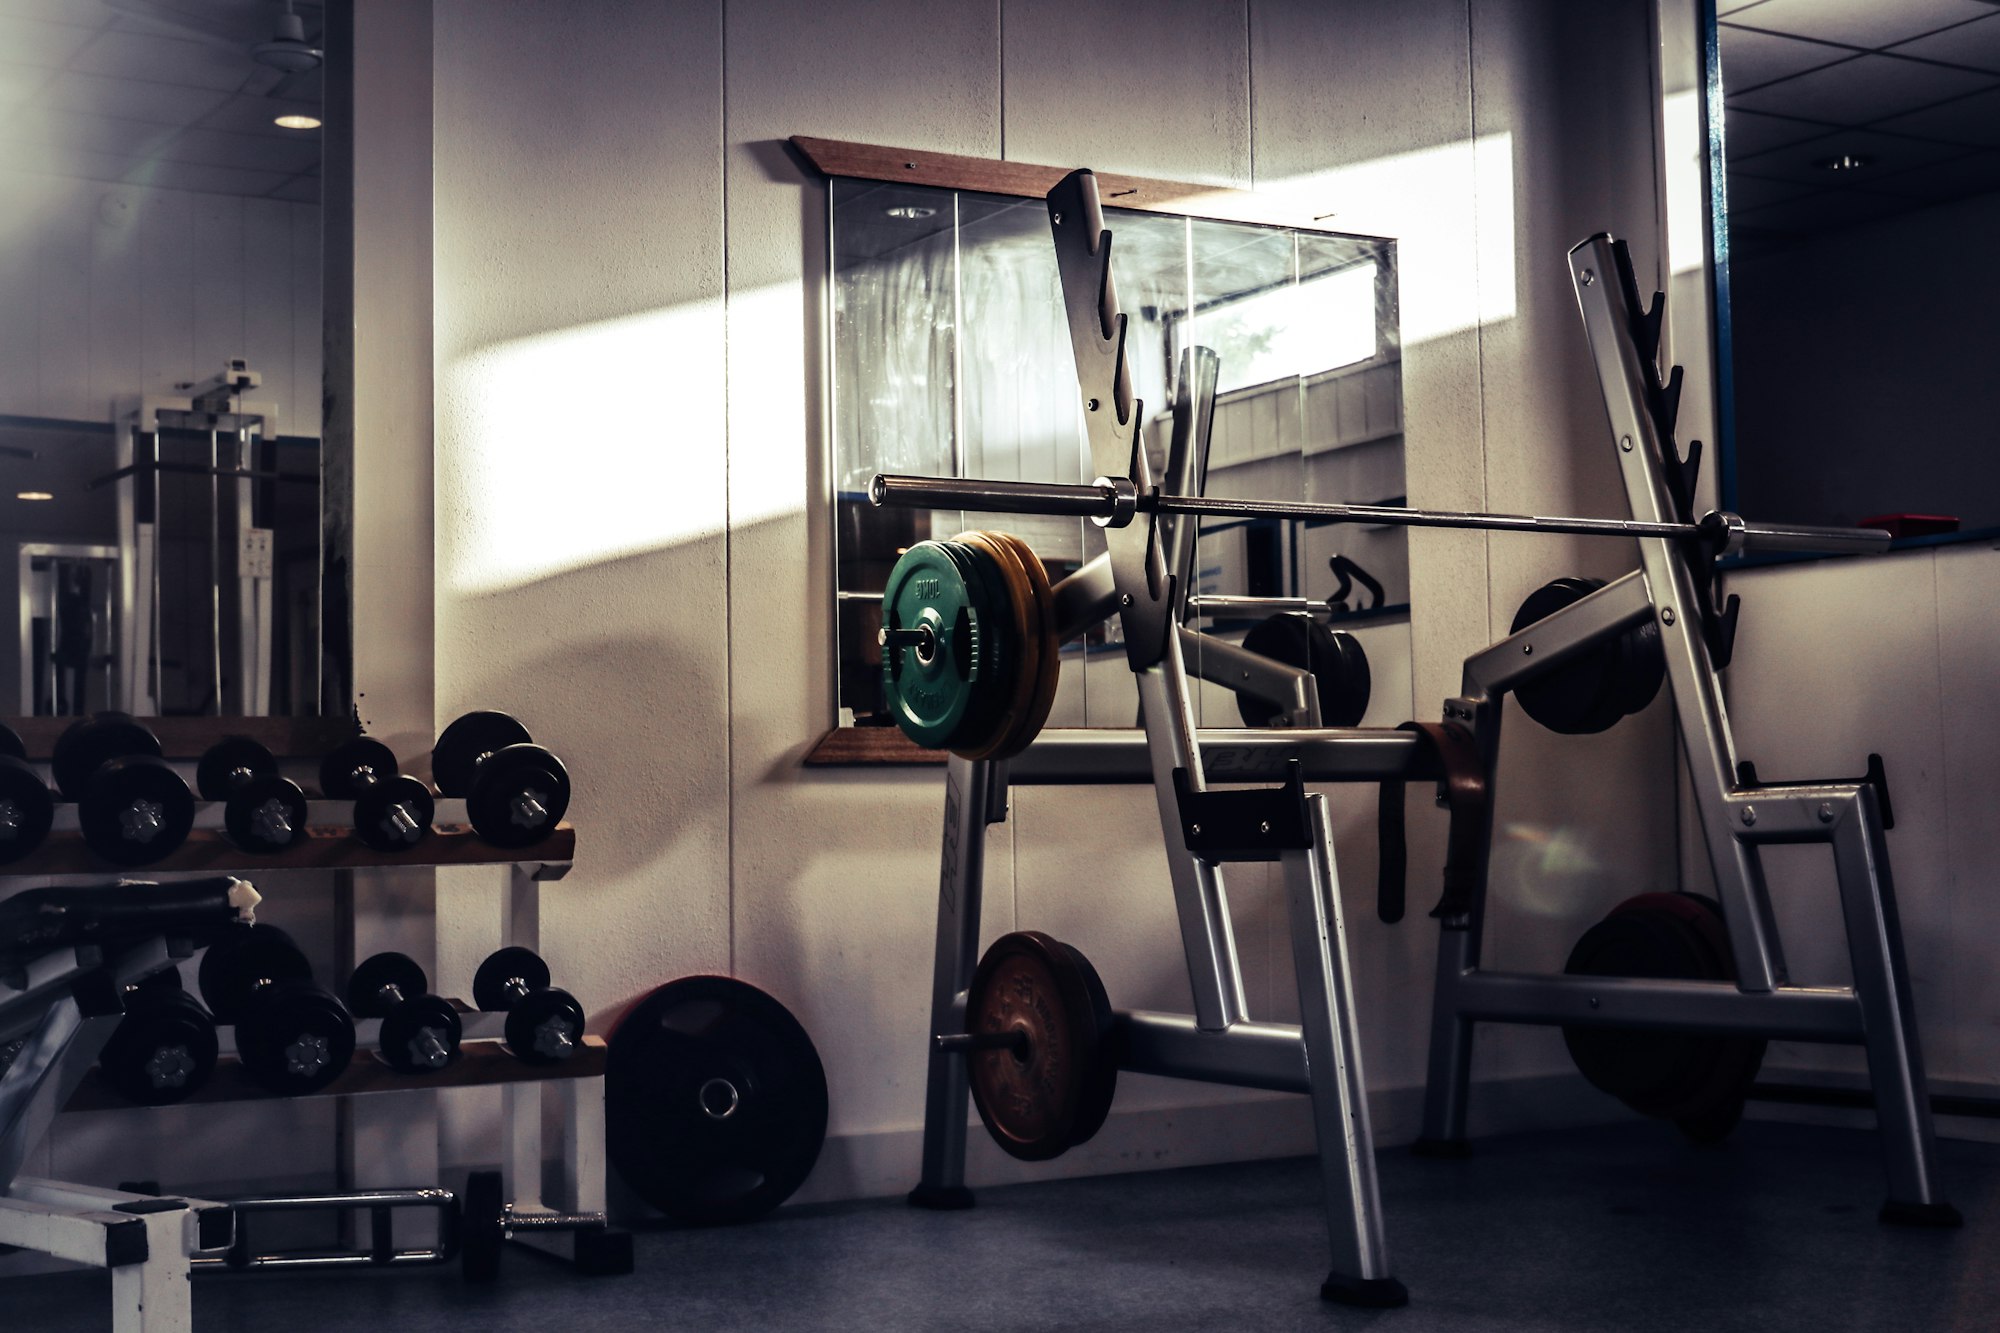
It is essentially a metal stand designed that supports the weight of a loaded barbell so you can easily grab it at the height that you need for your squats or any other weightlifting exercises, perform your reps, and then place the bar back on the rack. It has two main metal columns that hold the bar on each side, giving you space to place yourself in the middle and prepare for your exercise, and one pin at either side that you can move depending on the height that you want the bar to be.
One of the benefits of using a squat rack is that it usually comes with safety bars that act as spotters in case you need to drop the weight while you’re squatting, either because your muscles are too tired to push the weight back up or because your form has been compromised and the safest thing to do is to start again. These safety bars are located near the bottom and they’re designed to catch the bar if you let go of it, letting you step out of the rack safely.
Now, while the terms squat rack and power rack are often used interchangeably, there’s a key difference between the two. The squat rack has two metal columns and safety bars at the front, often resembling a bench press rack, but the power rack on the other hand has four metal columns and acts as an enclosed cage, which is why sometimes the squat rack is referred to as “half-cage”. Both racks offer great support for your weightlifting sessions, so choosing which one to use will depend on the exercise that you want to do and your personal preferences!
Here are a few benefits of using the squat rack:
- Assisted progression: The main reason to use a squat rack is that it allows you to load and place the barbell where you want it to be before getting into position. This is particularly useful when practicing progressive overload because it helps you add increments of weight over time without struggling to get the bar to its intended position each time.
- No path restriction: Unlike the Smith machine and other pieces of equipment that have limited space and path for the weight, generally intended to help beginners and advanced lifters with heavier loads, the squat rack allows you to move freely and thus perform a wider range of barbell exercises with it.
- No additional assistance needed: While having a spotter is never a bad idea when lifting weights, you can use the squat rack all by yourself without needing assistance from someone else. You just place the bar at the desired height, load it, and start lifting!
- Safety bars: These bars allow you to perform your weightlifting exercises without the extra risk of injury by acting as a safety net in case you need to drop the weight. Safety bars not only help you physically but also mentally because their presence is reassuring and helps you perform your movements with more confidence.
And these are only the technical benefits of a squat rack - don’t forget about the gains! Using this kind of equipment will help you make progress gradually and safely, and the use of heavier weights will make your muscles grow and get much stronger very quickly.
How to use a squat rack
To learn how to use a squat rack for your different strength training exercises, you first need to understand how to set it up.
The first step to set up your squat rack is to adjust the height of the bar by moving the pins up or down so it fits you and the exercise you’re about to do. The bar will go higher if you’re doing exercises such as overhead presses and any squat variation, and lower if you’re doing rack pulls, inverted rows, and other similar movements. It’s important to set the correct height for your exercise to grab the bar comfortably and prevent any possible injuries due to bad form.
Next, you need to load the bar with the appropriate weight. Barbells are heavier than other free weights, and you need to be careful when loading them so you don’t hurt yourself at the time of the lift. It’s always better to go a little lighter to make sure you can handle the weight and then load it some more, instead of going all the way in with a few heavy plates and risking dropping the bar or injuring yourself.
Now that the bar is set at the right height and correctly loaded, it’s your turn to step in and grab it. Depending on the kind of exercise that you’ll be doing, your placement under the squat rack will be different. Here’s how to do the staple barbell back squat on a squat rack:
- First, make sure that the loaded bar is at about chest level, which is the ideal height for barbell squats.
- Step under the bar with your feet shoulder-width apart so that it rests on your traps, just under your neck.
- Once you’ve centered yourself with the bar, grab it with both hands facing forward and at a comfortable distance from your body.
- Unrack the bar by straightening your back and legs and step out of the squat rack with your feet firmly planted on the floor. This will be your starting position.
- Begin to lower yourself by hinging at the hips and bending your knees until your thighs are parallel to the floor.
- After a brief pause, slowly go back up. Keeping the bar under control, perform all your reps.
- When you’ve completed a set, carefully place the bar back on the rack making sure both ends are secured, and step out.
There you go, now you have successfully used a squat rack!
Although front and back squats are the most common exercises that people use the squat rack for, there are other variations such as the split squats and the pin squats that can give you a good total body workout with this piece of equipment. After all, squats are a staple compound movement that everyone needs in their strength training program.
But enough about squats! Even though they are named after them for a good reason, squats are not the only exercises that you can do on a squat rack…
More exercises that you can try on a squat rack
Since the squat rack is essentially just barbell support, there are many weightlifting exercises that you can do with it. Here are some of the best exercises that you can try with it that aren’t squats:
- Standing overhead press: You can add this staple exercise to a squat rack workout by placing the bar at the same height as if you were going to do squats, which is at chest level. When you unrack it, hold it over your chest and right in front of your shoulders, take a step back, and begin pressing the weight up.
- Barbell lunges: This movement is very similar to the split squat because you get into a half-kneeling position at the bottom, but lunges are more dynamic and use both legs to support the weight while you bring the bar down. Place the barbell at chest height on the squat rack and step under it, so that it rests just below your neck before you unrack it and start lunging.
- Inverted row: This one is a little bit different, and requires you to lay on the floor. The bar will be placed near the lowest point, at arm’s length so that you can comfortably reach for it. It doesn’t need to be loaded, just secured. To perform the exercise, grab the bar with an overhand grip and begin pulling your upper body towards it with your arms.
- Rack pulls: As a pre-deadlift exercise, rack pulls are excellent to build proper form and a stronger lower body, and squat racks are perfect for them! Instead of placing the bar in one of the levels, take a step back and place it on the safety bars. You can practice your deadlift form by lifting from a higher position and reducing the range of motion.
- Bench press: While bench presses usually have their own rack, you can also just bring a bench under the squat rack and build your own bench press rack. This is particularly useful for those who have home gyms to avoid spending money on an extra piece of equipment. On the squat rack, the bar should be placed at a comfortable height for you to reach it without overextending your arms so you can bench press safely.
Before trying any of these exercises on a squat rack, keep in mind gym etiquette is a thing! If your gym is more crowded than usual and you’re thinking of doing any of these exercises, you might want to try a different approach such as using a power rack, a bench press rack, or a spotter so others can squat safely using the squat rack.
Now, go make progress using the squat rack!
Follow this guide and you’ll be ready to step into the gym and use the squat rack safely and with confidence - and with many different squat rack exercises in mind!
Whether you’re new to weight lifting or you’ve been training your strength for a while, the squat rack is a piece of equipment that can be useful to anyone interested in growing bigger and stronger muscles. So don’t be afraid to add it to your routine and experiment with a few new movements, so you can hit your all muscle groups from every angle and position possible and get the body of your dreams in no time!
Want to build an effective workout plan but have no idea where to start?
Try the One Fitness app!
Iulia plans new goal-focused workouts every week to help you achieve your fitness goals with effective training splits and a combination of isolated and compound exercises. Plus, the app offers a space to keep track of your training and your progressive overload!
Try your first workout with Iulia for free - no subscription required! Simply download the One Fitness app, go to Goals & Workouts, and select the goal that best fits you to start your workout.